Preparing Files for Laser: The Path to Perfect Results
The quality of a laser-processed workpiece is not decided at the machine, but at the screen. A precisely prepared file prevents material waste and ensures exact edges and clean engravings.
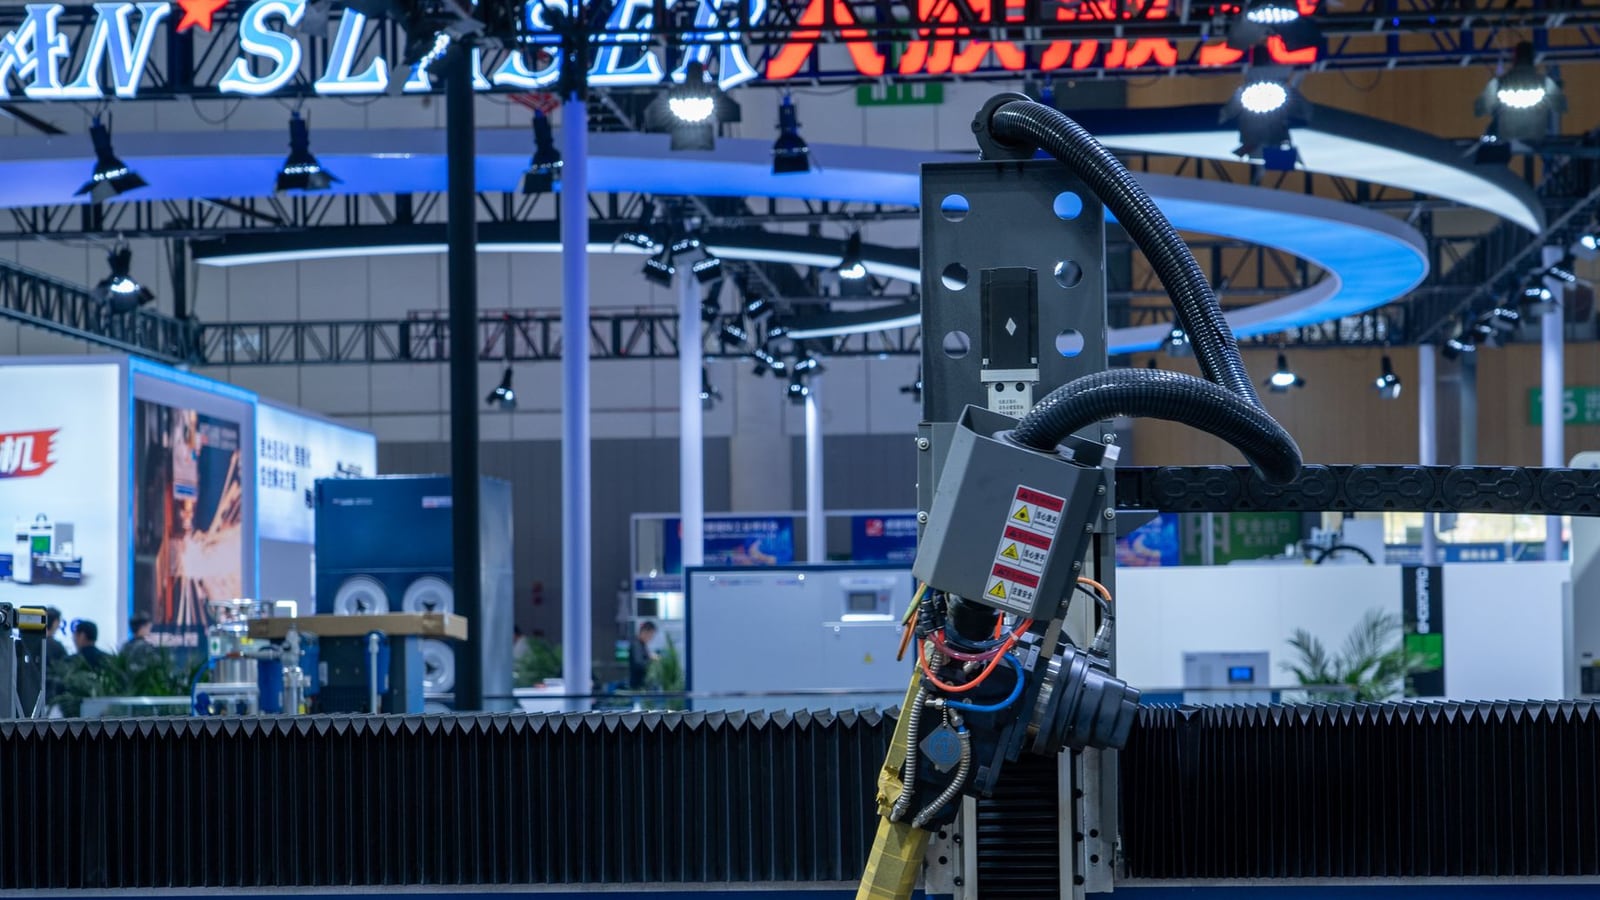
If you wish to realize a project in our workshop in Linz, choosing the right file format is the first and most important step. The laser does not work with pixels, but with mathematical paths. This means that a simple JPG or PNG file is not sufficient for precise cuts, as these consist of color dots and are not recognized by the laser as a continuous line.
Vector Graphics vs. Raster Graphics: Why Vectors are Essential
For laser cutting, we strictly require vector files. A vector graphic consists of points, lines, and curves defined by mathematical formulas. The great advantage is that they are losslessly scalable. Whether you are planning a small door sign for an office in the center of Linz or a large-format element up to our maximum working area of 900 x 600 mm, the edges always remain absolutely sharp.
Raster graphics (such as photos) can be used for engraving, but they require significantly more computing power and often result in a "dotted" appearance. For professional results, we always recommend the vectorization route.
Optimal File Formats for Barmiestqira
To ensure a smooth transfer into our control software, we accept the following formats:
- .SVG (Scalable Vector Graphics): The industry standard for web and laser, ideal for both simple and complex graphics.
- .DXF (Drawing Exchange Format): Particularly suitable for technical drawings and CAD data.
- .PDF (Vector-based): Only if the paths are embedded and not placed as a raster image.
- .AI (Adobe Illustrator): Please save the file in a compatible version or export it as an SVG.
Colors and Lines: The Language of the Laser
The laser does not distinguish between "beautiful" or "ugly," but between commands. In the world of laser control, colors are often used to tell the device which operation should be performed where. We use a simple color scheme to avoid errors:
| Color (RGB/HEX) | Function | Result on Material |
|---|---|---|
| Red (#FF0000) | Cutting (Cut) | Material is completely cut through |
| Blue (#0000FF) | Engraving (Engrave) | Surface area removal |
| Black (#000000) | Marking (Score) | Fine, superficial line without breakthrough |
Checklist for Your File
Before sending us your data, please go through this list to avoid unnecessary correction costs:
- Path Closure: Are all lines closed? Open paths lead to gaps in the cut.
- Double Lines: Have you accidentally placed two lines on top of each other? The laser would cut here twice, which can burn the material, especially with acrylic.
- Convert Fonts to Paths: Convert all texts into "outlines" or "paths." This ensures the font looks exactly as you planned, even if we do not have the specific font installed.
- Scale 1:1: Create your layout in the actual final size in millimeters.
Material Specifics in Linz and Upper Austria
Depending on the material, the laser behaves differently. With plywood, we must consider the "kerf" (the material loss caused by the laser beam). If parts are intended to fit exactly into one another (e.g., in interlocking systems), a precise adjustment of the paths is necessary. For acrylic sheets, we pay particular attention to the purity of the edges, which requires an absolutely smooth vector curve without too many small anchor points.
If you are unsure which material is best suited for your project, we recommend our guide Choosing the Right Material.
What to do if you don't have a vector file?
Many customers come to us with a simple sketch or a logo as a JPG. This is not a problem. We offer professional support for file preparation. Our graphic designer handles the vectorization, cleans up the paths, and optimizes the layout for the respective material thickness.
You can find this service under Layout Preparation. We charge for this effort by the hour, so you only pay for the time actually required.
Note: For legal reasons, we may not process protected trademarks or logos without proven permission from the rights holder.
Summary and Next Steps
Good preparation saves time and money. If your file meets the criteria mentioned above, we can start production in our Linz workshop immediately. If you need assistance or have questions about your specific project, we are happy to help.